My Blogging Workflow with Hugo
Janne Kemppainen |Now that you should have your blog online here are some tips on getting started with the writing process. In this post I share how I manage the content in my blog.
Update: Since I have started to use Obsidian to manage my blog ideas I have adjusted my current workflow a bit. Almost everything here is still valid but I don’t put all my new ideas in the
draftdirectory anymore. I talk about my updated task/idea management workflow in Markdown Kanban with Obsidian.
Content organization
There is one important piece of configuration that makes my workflow work the way it does. In the config.toml file I have the following:
[permalinks]
    blog = "/blog/:filename/"
This means that all pages in the blog section use only the filename to determine the path. Take this page for example: https://www.pakstech.com/blog/make-development/. It is actually located in content/blog/2019/make-development.md in the filesystem but the configuration ignores the directory names.
As you might’ve quessed from the previous paragraph I organize my content by year. All published posts go to the directory for the year they were published in. But thanks to the configuration the years don’t appear on the URL’s making them a bit cleaner.
Depending on the amount of posts you have you might even want to split the yearly directories to quarters or months.
Only published posts go to these yearly directories. I have a separate directory (content/blog/draft) where I put all my drafts and ideas. So when I have a new idea for a blog post I can create a draft with Hugo:
>> hugo new blog/draft/something-new.mdThe something-new.md will be added to my list of drafts and if I don’t want to write it right away I can add some comments in the file so that I can remember what my original point was when writing the article later. When I have written the content I will remove the draft: true parameter from the front matter and move the file to the correct yearly directory.
Adding these drafts makes sure that you have a backlog of items that you need to either write or discard. Keeping your ideas in the same place as your content makes it easier to start working with them. It does required a computer however so you might want to have some other way of writing down ideas when you’re on the move.
I have also created a concept of “Series” in my Hugo theme. They are posts that are grouped together with a series parameter in the front matter and they work like taxonomies. You can see that I have a list of all posts in the series automatically added on this page. I also have a separate index page for the series which you can see here. The Markdown files themselves are located in their own subdirectory under the year 2019 but that is only to make the file management easier for me.
Front matter
When I create a new draft file with the hugo command I try to keep the filename short so that the URL will also stay relatively short. However, this means that the automatically generated title in the front matter might not be descriptive enough. Therefore it’s important that you change the title right away even if you don’t intend to write the article immediately as later on it can be quite difficult to remember what you were trying to go after.
If my post is going to be a part of a series I will add the series parameter to the front matter so that I don’t forget to add it later and that I can see it as a draft on the local development server. I also add the category taxonomies.
Images
I like to add a title image quite early on when writing the content as it kind of motivates me to finish the post. I try to either find free images from Unsplash and Pixabay that could match the idea of my blog post, or I create one if I don’t find what I need.
The original image files are typically unnecessarily large so I scale the down to around 1200 pixels or so. I have found that Paint 3D on Windows 10 is a handy tool for resizing the images as it opens quite quickly and is simple to use.
Even after scaling down the images there is usually some room for reducing the file size by optimizing the files. On a Mac I use the ImageOptim tool to reduce the image sizes so that the pages load faster. On Windows I use PNGGauntlet for PNG files and the TinyPNG web service for JPEG.
I organize the images in the static/images directory based on the year, month and filename. Then I can add the title images like this:
images:
- /images/blog/2019/12/pencils.jpg
I take quite a lot of screenshots as part of my blog posts. On Windows I still heavily rely on the good old Paint. It’s quite fast to take a screenshot or capture a part of the screen with Win+Shift+S, open Paint, paste the image in and save the file. Make sure that the canvas is smaller than the pasted image so that it gets automatically expanded to the right size. Finally run the image through an optimizer to reduce the file size.
The writing process
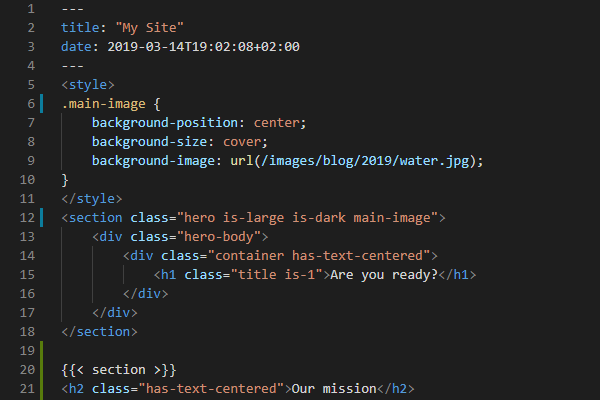
Visual Studio Code is my choice of editor and it has been working really well for me. When writing a blog post I have the development server running on the terminal and the corresponding blog post open in the browser with the screen split 50/50 between the editor and browser. This way I can see that I don’t have syntax errors with the Hugo shortcodes and I can also verify that the final look of the post is ok.
I don’t have the word count or an estimated time of reading shown on my blog posts but on draft posts I want to see the amount of words. This also reminds me that the post has not been published yet.
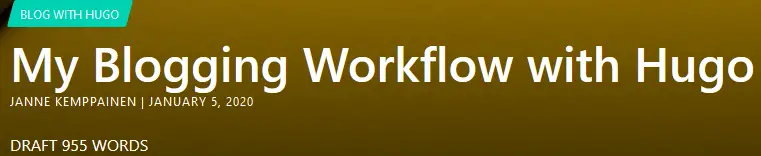
Draft indicator
If you want to have a similar indicator you can add this piece of code to your page template. It checks if the page is still a draft and then adds the word count to the page.
{{ if .Params.draft }}
<span>DRAFT {{ .WordCount }} WORDS</span>
{{ end }}
When I’m finished with the post or want to save the progress I create a Git commit and push to GitHub. Mainly I just use the master branch as I’m the only one committing to the repository and I can just do a pull rebase if I have committed something from another computer. A commit to the master branch triggers the site build but drafts are not visible on the live page.
Conclusion
Hopefully these points gave you some ideas for your own workflow. At least I have found this to work quite well for me. If you have tips on how to improve the writing process you can share them down in the comment section.
Read next in the Blog with Hugo series.
Use Google Analytics to Show Popular Content on Your Static Blog
Previous post
Three Dots in Python, What is the Ellipsis Object?