Publish Your Blog to Netlify
Janne Kemppainen |Now that our custom Hugo blog is more or less ready it’s time to make it public by publishing it online. In this post I will go through all the required steps. And the best part is that you only need to pay for the domain!
In this post we will:
- Obtain a domain name
- Create deployment configurations
- Create a Netlify account
- Deploy automatically from a GitHub repository
- Set up the domain on Netlify
In this post I’ll assume that you have the source code of your Hugo blog hosted on GitHub but Netlify also supports GitLab and Bitbucket and they can be set up in the same way.
What is Netlify?
Netlify is a hosting platform for static websites. The starter plan is free and contains pretty much everything you need for a small blog. The free monthly bandwidth quota is 100 gigabytes which should be enough for quite a lot of traffic.
The free account has 300 build minutes included which should be plenty when using Hugo as most of the build time seems to go to the environment setup rather than the actual build. You can see the full features and pricing from the Netlify pricing page.
Netlify is not just a static hosting service as they also provide add-ons that can be used to add dynamic features to a static site. The currently available add-ons are
- Analytics: basically server logs
- Identity: user authentication
- Forms: receive form submissions to the Netlify site admin panel
- Functions: deploy AWS Lambda functions from Netlify
- Large Media: store large files outside of your Git repository and resize images as needed
Most of these have some amount of free quota, after which you pay per usage. I won’t be using them in this tutorial.
Get a domain name
The only thing that you need to pay for in this tutorial is a domain name. There are many domain registrars available but I’ve been using Porkbun for this site. Porkbun is an ICANN accredited domain name registrar based out of Portland, OR. They offer competitive prices for domain names and WHOIS Privacy is included for free so you don’t have to expose your home address to everyone if you don’t want to.
For example a .com address is $8.56/year but at the time of this writing they have the first year on sale for $4. Of course there are many other domain extensions to choose from and some of them are relatively cheap. For this post I purchased the <pakstech.download> domain for $2.47/year for the next ten years. I decided to buy it for many years at once as it was rather inexpensive and I might repurpose it at some point.
So, head over to Porkbun to obtain a domain name if you don’t already have one. On the checkout page you don’t need to add web hosting but you can add a mailbox for $24/year if you need one.
Site configuration
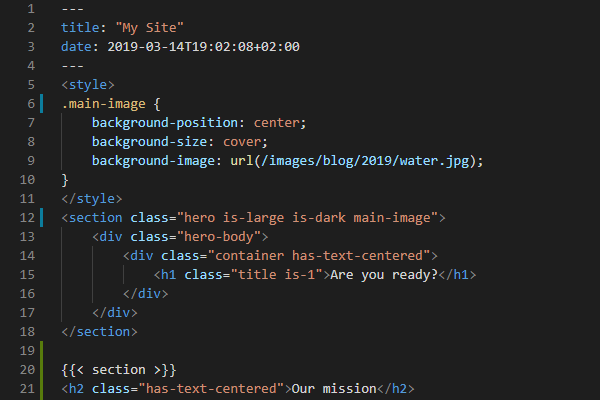
The configuration of your Hugo blog lives in the config.toml file. Now that you have a domain for your website you need to configure it to the baseUrl variable in the config.
baseUrl = "https://pakstech.download/"The Netlify deployment is also going to need some configuration. The configuration used in the Hugo home page is a good starting point and it is available on GitHub. At the time of writing this article it looked like this:
[build]
publish = "public"
command = "hugo --gc --minify"

[context.production.environment]
HUGO_VERSION = "0.61.0"
HUGO_ENV = "production"
HUGO_ENABLEGITINFO = "true"

[context.split1]
command = "hugo --gc --minify --enableGitInfo"

[context.split1.environment]
HUGO_VERSION = "0.61.0"
HUGO_ENV = "production"

[context.deploy-preview]
command = "hugo --gc --minify --buildFuture -b $DEPLOY_PRIME_URL"

[context.deploy-preview.environment]
HUGO_VERSION = "0.61.0"

[context.branch-deploy]
command = "hugo --gc --minify -b $DEPLOY_PRIME_URL"

[context.branch-deploy.environment]
HUGO_VERSION = "0.61.0"

[context.next.environment]
HUGO_ENABLEGITINFO = "true"
Save this to the root of your GitHub project as netlify.toml. The build section defines where the published site files are located after the build and which command should be used to generate the site. The --gc argument performs some cleanup tasks of unneeded files and the --minify parameter will minify the generated HTML so that the pages load faster.
The version of the Hugo executable is defined with the HUGO_VERSION environment variable. It should match with your local Hugo installation so that you can be sure that the deployment will also work on Netlify. You can check your installed version with this command:
>> hugo version
Hugo Static Site Generator v0.61.0-9B445B9D windows/amd64 BuildDate: 2019-12-11T08:29:13Z
The Git info setting enables Git Info Variables which can be used to get the abbreviated commit hash, author name, email, date, hash and the commit message for the file through the .GitInfo object.
The configuration has multiple sections that are used in different contexts. Depending on your usage you might not need all of them for example if you’re not going to do any A/B testing.
For example the deploy-preview context is used to build the website on pull requests so that you can verify the site before merging a PR. You can also build from a branch. The Netlify documentation contains more information about the configuration should you have more specific needs.
Commit the configurations to your GitHub repository.
Netlify deployment
Next, let’s set up a Netlify account. Go to https://netlify.com and register a new account. You can also use GitHub to authenticate to the site. After logging in you’ll be taken to the management interface.
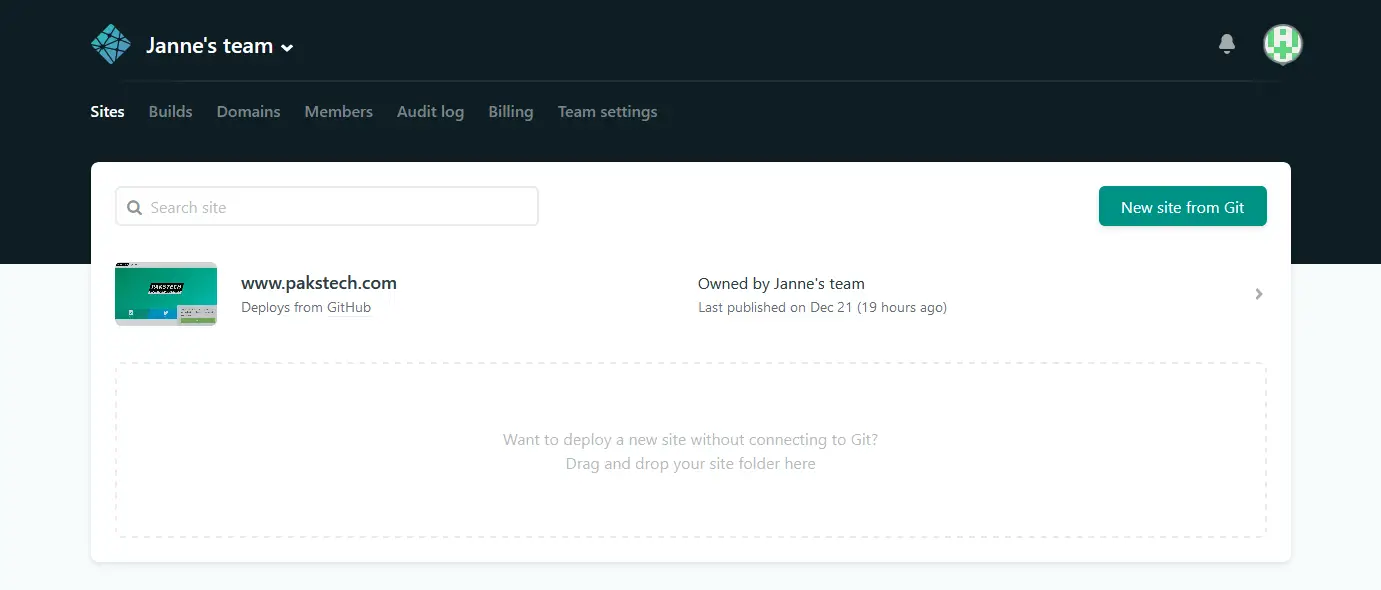
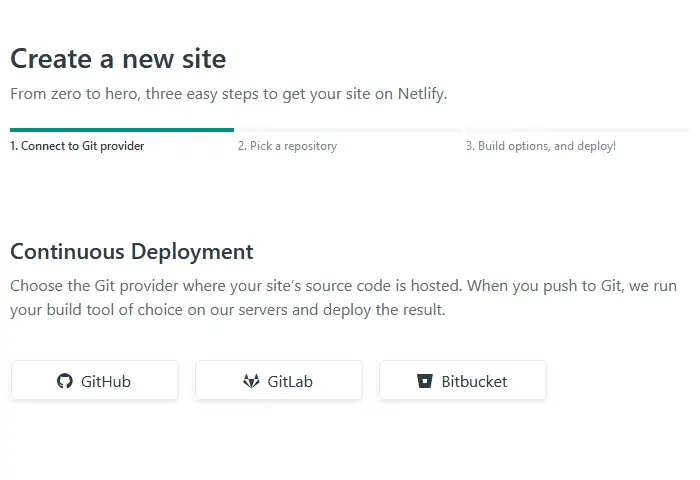
On the “Sites” tab select “New site from Git” and select GitHub as the provider. Approve the authorization request and you should see a list of your repositories. If you want to deploy from an organization repository you need to authorize them separately.
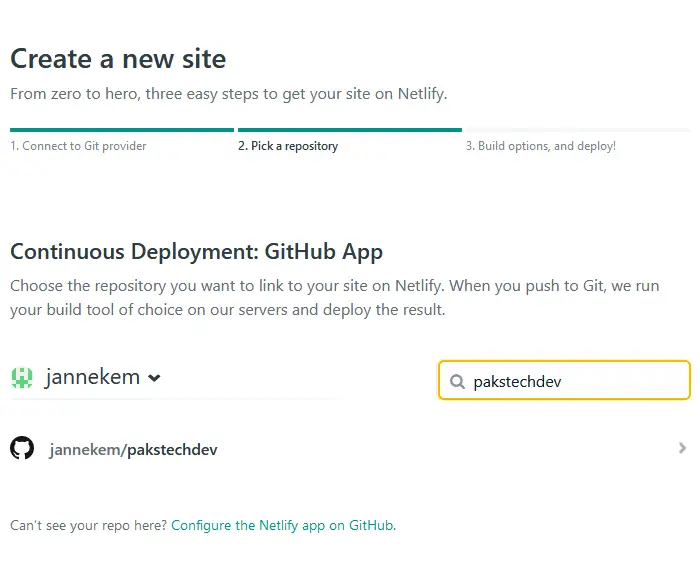
Pick your source repository.
The build options should be automatically populated from the netlify.toml file in the GitHub repository. Accept the build settings by clicking “Deploy site”. The deployment should take a minute or two.
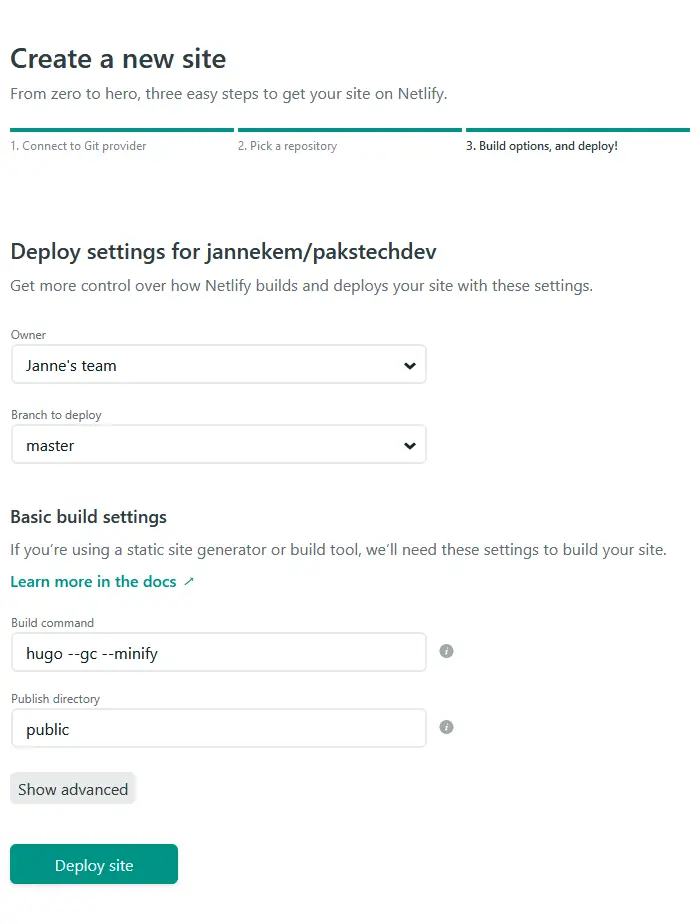
Netlify deploys the site under a randomly generated subdomain so go and check it out.
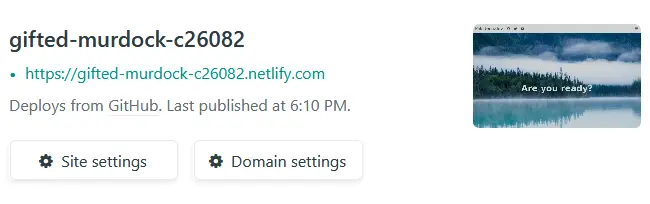
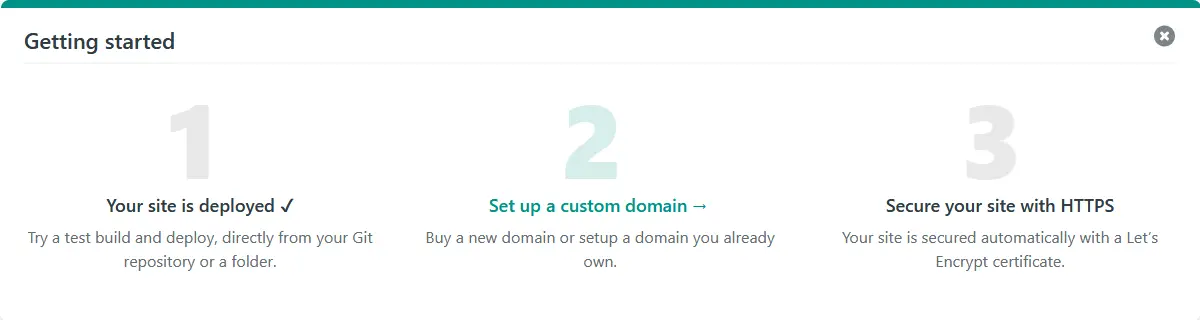
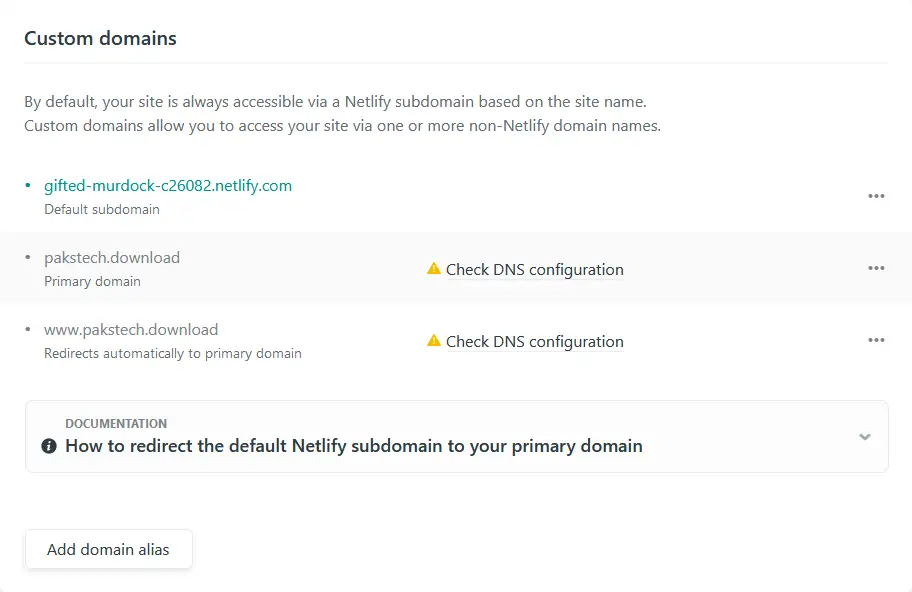
On the “Overview” tab you should now see a suggestion to set up a custom domain. You can also go to “Settings” -> “Domain management” -> “Add custom domain”.
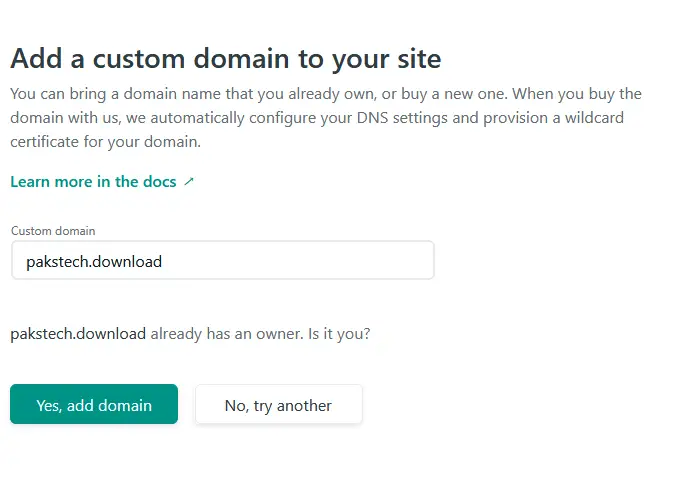
Add your new domain name such as “pakstech.download” to the input box and click “Verify”. You’ll be prompted that the domain already has an owner so proceed to adding the domain.
The custom domains section should now show a message “Check DNS configuration” next to your domain name. Click the notification.
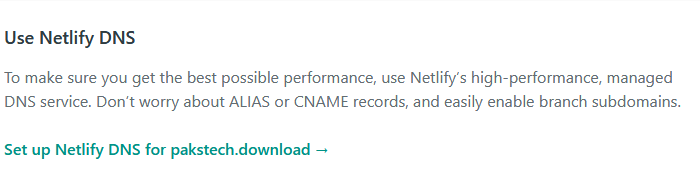
Then click “Set up Netlify DNS for pakstech.download”.
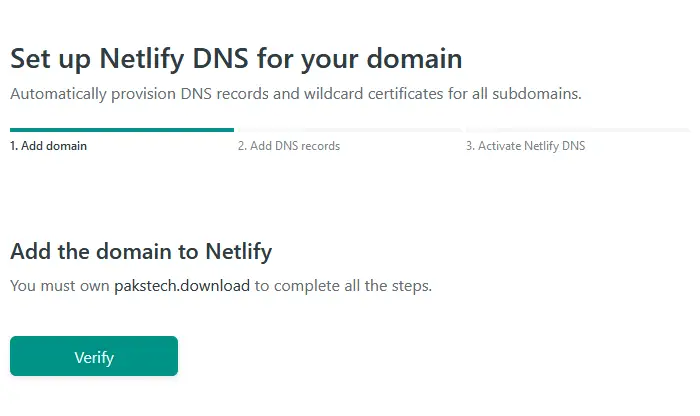
Click “Verify”.
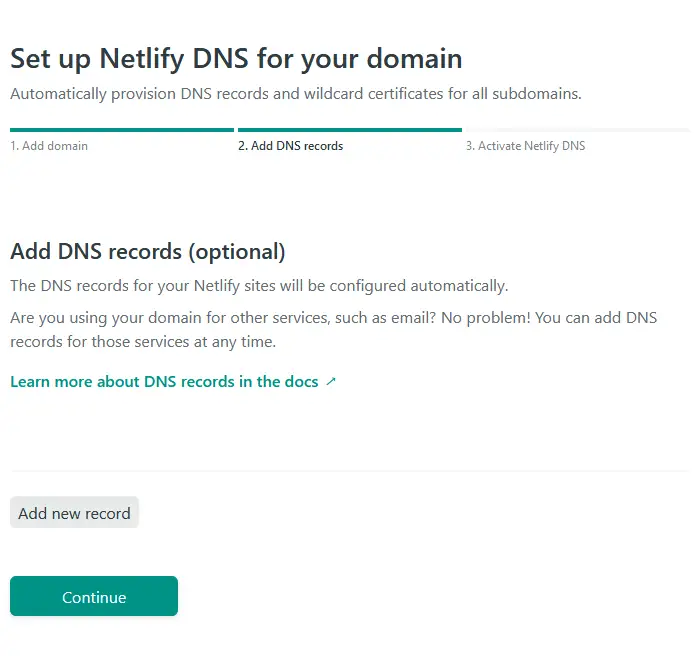
You don’t have to add additional DNS records unless you need them for email etc.
Netlify gives you a list of domain nameservers and you must copy these to your domain registrar.
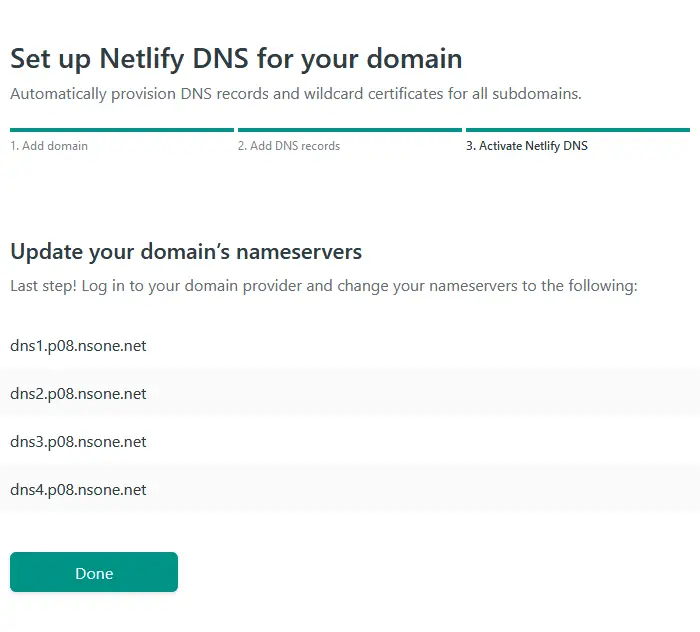
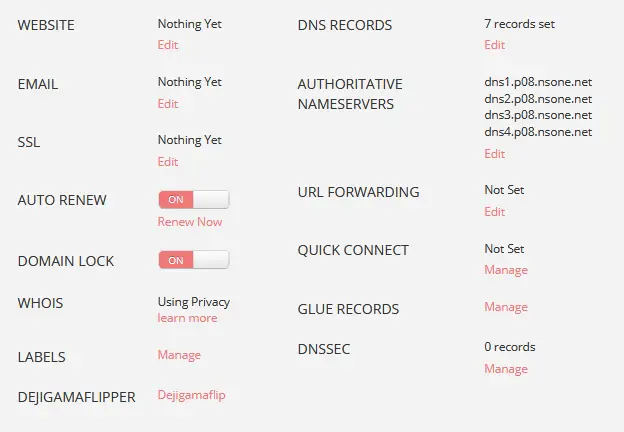
Log in to your Porkbun account, locate the domain that you want to associate with the site and open the details. Click the edit link for authoritative nameservers and copy in the list from Netlify.
It might take some time for the change to propagate through the Internet so be patient. After the site has come online it will take some more time for the SSL certificate to start working properly so don’t be worried even if you get weird protection errors when trying to browse the site.
After a while your page should be visible on the Internet! Now when you add new commits to the master branch of your source repository Netlify will automatically fetch the latest version, run the build and update the page. If your builds fail for some reason then the last succesful build will stay online.
Conclusion
Deploying a website with Netlify is easy and straight forward. After the initial configuration you don’t even need to bother about the deployments as everything happens automatically when you add new commits to your website repository.
Read next in the Blog with Hugo series.
My Blogging Workflow with Hugo
Use Google Analytics to Show Popular Content on Your Static Blog
Previous post
Custom Hugo Shortcodes