Install openmediavault on Proxmox
Janne Kemppainen |If you want to have a home server with the possibility to run virtual machines but you also need simple local file sharing then the combination of Proxmox and openmediavault could be right for you. In this post (and the accompanying video) we’ll go through the installation of openmediavault on top of Proxmox. I will also show you how to configure a Samba share.
In an earlier post I showed you how to obtain large drives for less money by shucking them from external USB drives. My two 8 TB drives have been idly sitting in my home server for a few months now but it’s finally time to put them to good use!
The blog post and the video essentially cover the same thing so it’s up to you to choose your preferred medium.
Requirements
You’re going to need a server with Proxmox installed on it. I won’t be going through the installation of Proxmox in this post so you need to do that first before proceeding with the rest.
Hardware wise you should have a server or some old computer with enough RAM and probably some hard drives. I’m using an HP ProLiant MicroServer N54L which is pretty old but serves its purpose for my modest usage.
I have configured it with four hard drives:
- 250 GB HHD that came with the server contains the Proxmox installation
- 3 TB WD Red NAS drive is for general storage
- 2x 8 TB white label drives shucked from WD MyBook external USB drives are configured as a mirrored ZFS pool
I’m using the mirrored ZFS pool as the storage space for openmediavault. The other option would be to pass the drives trough to the virtual machine but that would make them dedicated to that one VM.
Handling the mirroring on the Proxmox side also means that the openmediavault installation doesn’t require a software RAID configuration.
Depending on your hardware and requirements you’ll need to create a storage space for the data. This can be a single disk or an array of disks, but I leave that choice to you.
Remember that disk mirroring/RAID is not a backup solution!
You’ll also need to download the ISO installer from the openmediavault downloads page and upload it to your Proxmox server.
VM creation
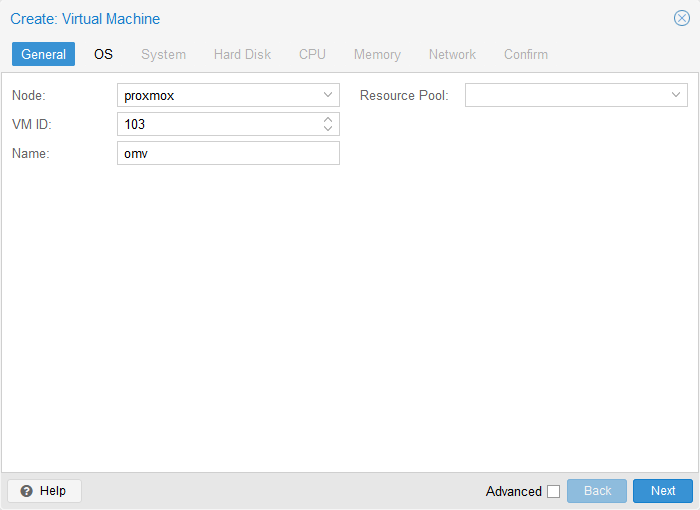
Log in to the Proxmox web interface and click the Create VM button on the top of the page.
Give the VM a descriptive name on the General tab.
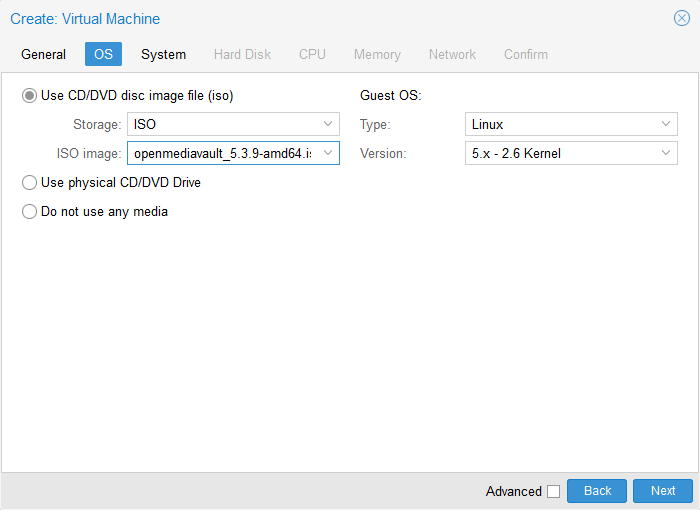
Select the ISO image that you uploaded to Proxmox.
Keep the defaults for the System tab.
You can reduce the hard disk size from the default value, the minimum requirement is 4 GB.
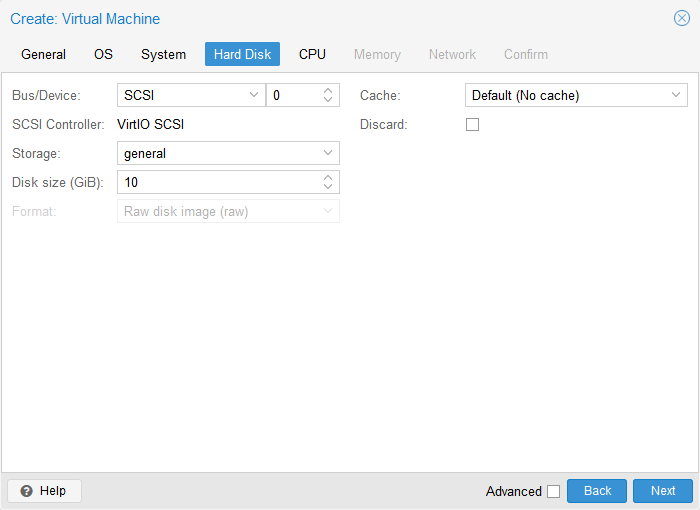
The CPU requirements for OMV are not that high so assigning a single CPU core (the default) should suffice.
The amount of RAM that you need to assign depends on your usage, the absolute minimum is 1 GB but in the video I used 6 GB. Don’t worry too much about it, you can start with a lower value and increase the allocation afterwards because it’s just a matter of few clicks on Proxmox.
Continue through the Network tab and click Finish to accept create the VM.
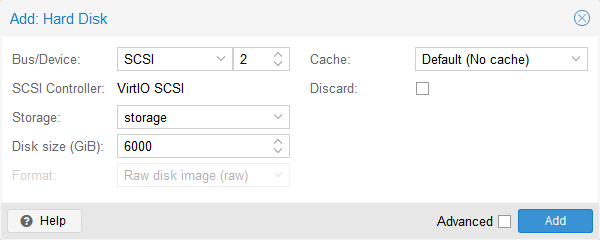
However, before starting the VM select it on the server view and go to the hardware section. Click the Add dropdown menu and select Hard Disk to add the storage drive. Choose the storage that you want to use for your files and allocate as much space as you need.
openmediavault installation
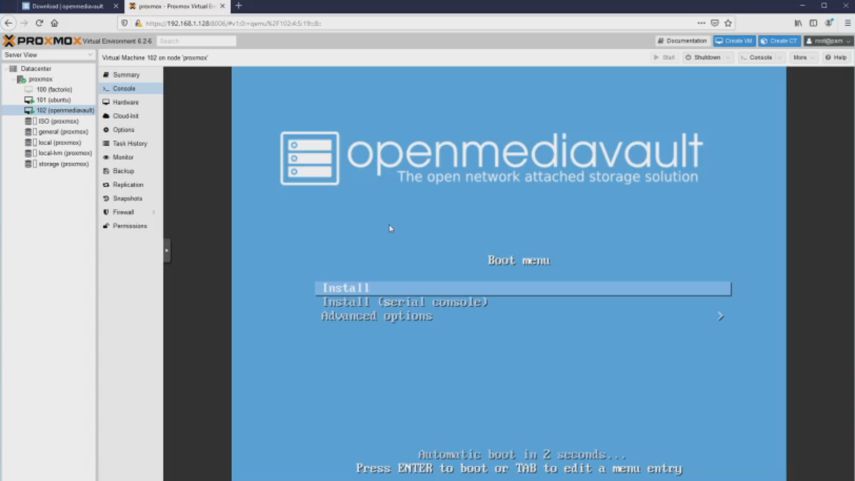
Now that the VM has been configured it’s time to install the OS. Click Start to fire up the VM and then go to the console to go through the installation steps. Select Install or wait for the automatic boot.
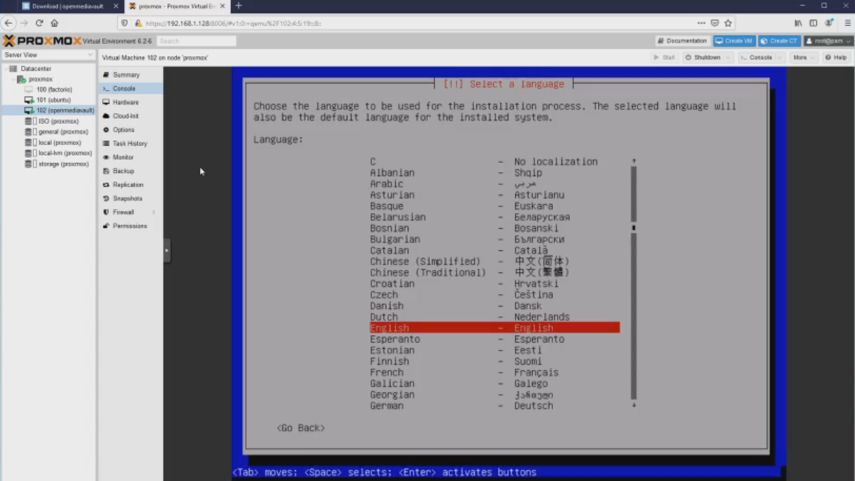
Configure the language and locale settings when asked.
For the network configuration you can choose any hostname you want. I’m using the default openmediavault which is descriptive enough. You’ll also be asked to provide a domain, use the default value if you don’t know what to do.

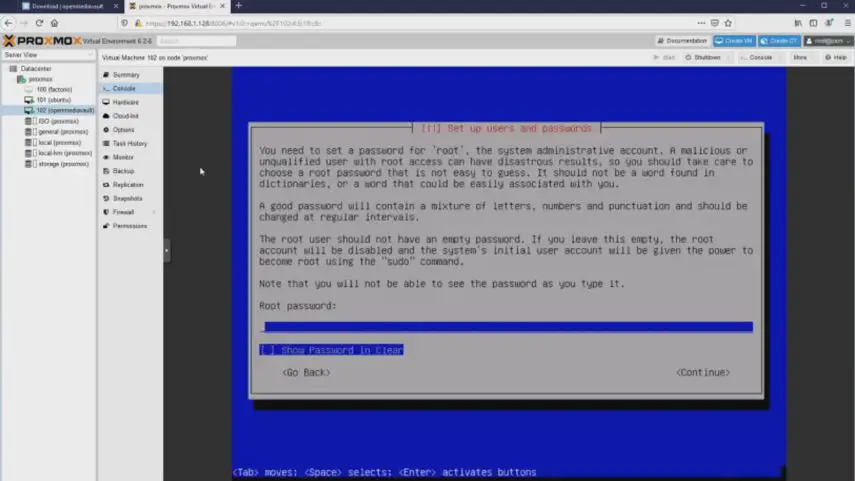
Next you’ll be asked to create a password for the root account. This is separate from the web interface accounts and used only for accessing the machine from the command line.
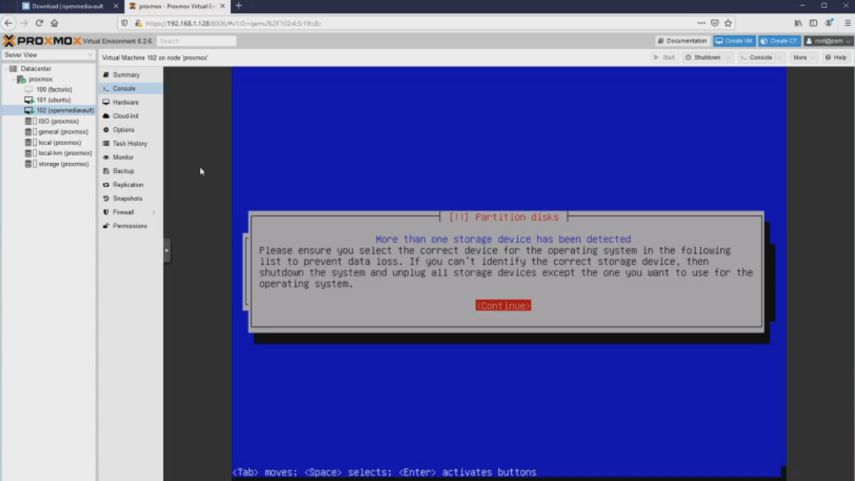
The installer will also detect that the VM has multiple drives. Confirm the notification dialog.
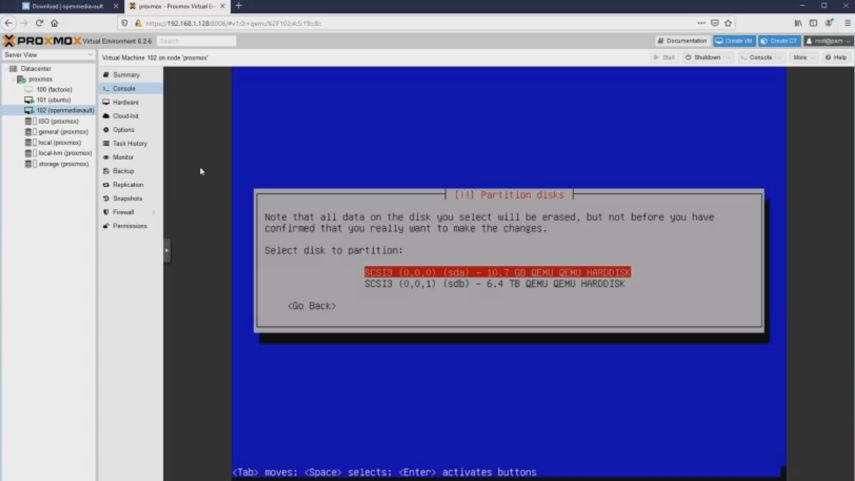
Choose the smaller disk for the OS installation (sda). The second disk will be mounted later on in this tutorial.
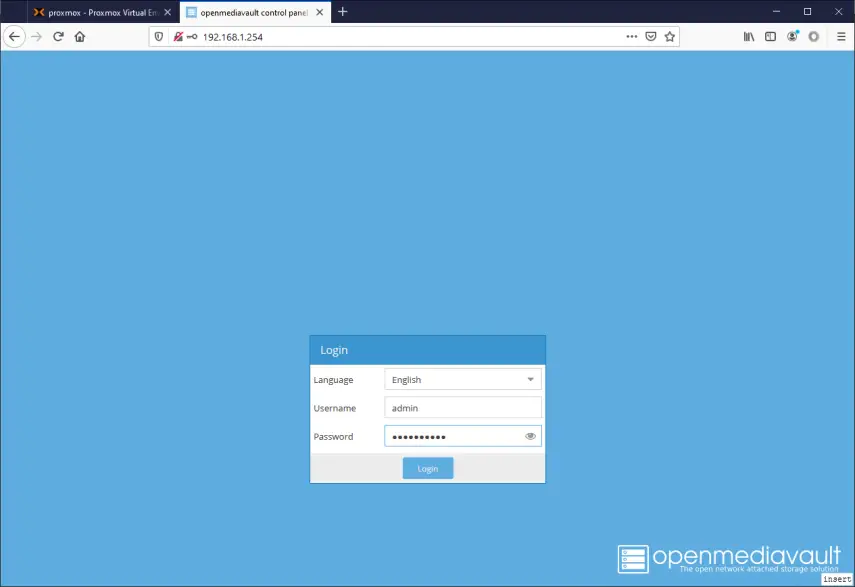
For the rest of the installation you can go with the recommended settings. After the OS has rebooted login with the root credentials and use the ip addr command to find out the IP address of the VM.
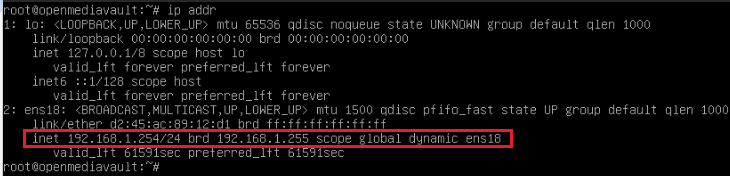
As you can see from the image above my VM got the address 192.168.1.254.
Configuring a Samba share
Next navigate to the address you obtained in the previous step with your browser. You should see the login window for openmediavault. The default credentials are:
- Username: admin
- Password: openmediavault
Note that the web interface may ask you to confirm the changes after you have changed something. Make sure to click apply when asked.
The first thing you should do after logging in should be to change the default password to something more safe. Go to the General Settings under the System section and choose the Web Administrator Password tab where you can set a new password.

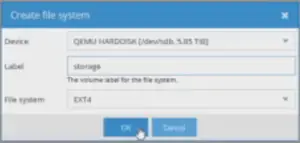
Next, go to Storage > File Systems and click the Create button to create a new filesystem. On the popup menu select the storage device, give it a descriptive label and click OK. It will take a moment for OMV to create the file system.
The drive is still not accessible though because it hasn’t been mounted. Select the storage that you just added on the device list and click the mount button.

Next go to Access Rights Management > Shared Folders and create a new shared folder by clicking the Add button.
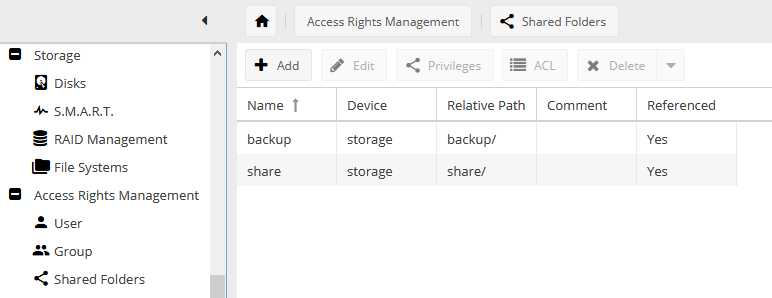
You’ll need to give the folder a name and choose the device that you want to use for the files. If you have configured one storage then you have only that option. If, on the other hand, you have multiple hard disks/storages you could have different shared folders depending on the device and whether RAID is required or not.
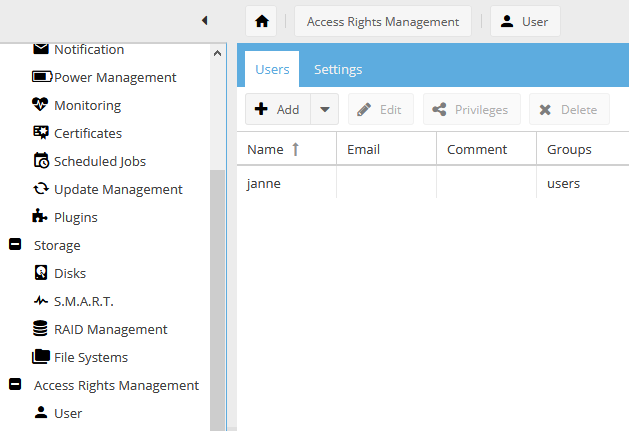
Switch to the User section under Access Rights Management and click Add to create a new user. It is sufficient to configure only the name and password for the account. In a moment we’ll use these credentials to login to the Samba share.
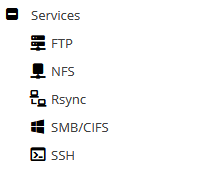
Finally, you have to go to SMB/CIFS on the Services section to enable the Samba share.
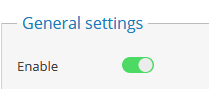
In the general settings area there is a toggle switch to enable the service.
After enabling Samba switch to the Shares tab and add all the shares that you need.

In the Add share popup choose the shared folder that you created earlier, or create a new one from the plus icon in the shared folder field.
There are quite many options that you can define for the share, maybe the most important being the selection whether the share should be public or not. Public shares are available for everyone on the network with guest access. The Browseable selection defines whether the share should be advertised on the network or not
Save and confirm the changes to create the share.
Connect to the share from Windows
If everything went well you should now be able to connect to the share from Windows. Open the File Explorer and navigate to the Network location.
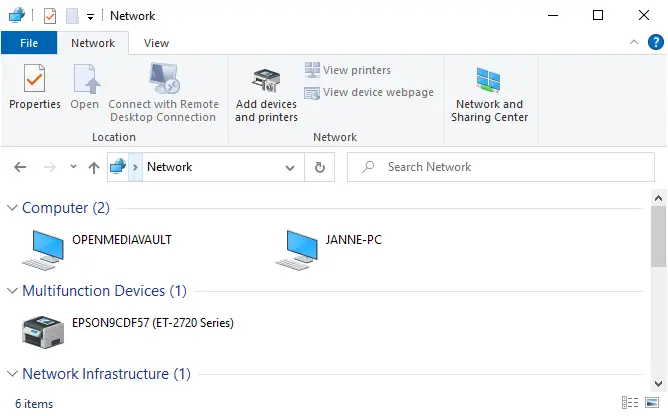
If network discovery is enabled the openmediavault server should be visible in the list of network devices. You can also write the hostname to the address bar of the File Explorer or use the IP address directly.
When you connect to the network share windows will ask you for credentials.
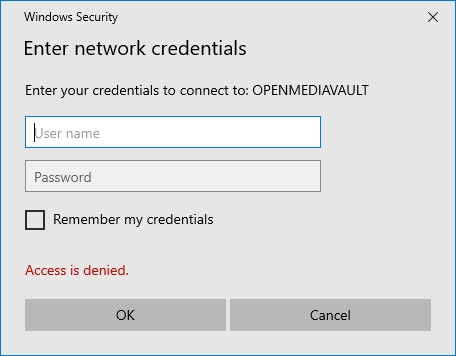
Here you can give the username and password that you created in the previous part and you should see your shares.
If you have configured a share with guest access and are asked for password you can use the user name “guest” and leave the password field empty.
You can easily manage the user access to different shares from the Access Rights Management > User by selecting a user and then clicking the Privileges button. The popup window allows you to define the access levels on a folder-by-folder basis.
If you have many users you can use user groups to handle multiple access rights.
Conclusion
So that is how you can set up a simple Samba share with openmediavault running on top of Proxmox. It really is quite simple but there are still so many ways that things can go wrong. Sometimes it feels that if you look at Windows the wrong way it will deny access to the share!
Hopefully you found this little tutorial useful and now have a working OMV instance! If you like you can leave a comment on the YouTube video or share you thoughts on the embedded tweet.
Discuss on Twitter
I figured that I should create a tutorial for setting up openmediavault on top of Proxmox as I needed to install it on my home server. Video included! https://t.co/UyL6ZCF7Aj
— Janne Kemppainen (@pakstech) July 3, 2020
Previous post
SASS Processing with Hugo Pipes