Let's Create a New Hugo Theme
Janne Kemppainen |Now that we know how the basics of Hugo it’s time to take a step further and start building our own theme. This post will lay the foundations for our theme so it won’t look like much in the beginning but it will be something that we can build on. We have lots of content to cover so let’s get going!
If you haven’t read the previous post in this series (Getting Started with Hugo) then it might be worthwhile to check it out if you’re totally new to Hugo. If you already know the basics then go on and follow along this post but I will assume that you have already created a new site with hugo new site mysitename.
A small directory adjustment
Firs’t off we are going to start by changing the name of our blog folder. The blank theme that we used earlier assumed that the blog posts were stored in a directory called post. I’d rather put the blog content under the blog directory. Let’s also organize the content by year so that it is easier to manage the blog posts.
In the previous post we created a sample blog post. Navigate to the root of the project. Moving to the new directory structure is easy:
>> mkdir content/blog
>> mv content/post content/blog/2019
From now on new blog posts can be added with the command:
hugo new post/2019/post-title.mdand the generated pages can be found from http://localhost:1313/blog/2019/post-title/.
Create the theme
This is the easiest part. In the root folder of your website project use the hugo command to create a new theme with your chosen theme name, I’ll call it bloggeri:
>> hugo new theme bloggeriHugo will tell you that it created a new theme in the themes directory. Let’s see what we’ve got:
>> tree themes/bloggeri
themes/bloggeri
├── LICENSE
├── archetypes
│   └── default.md
├── layouts
│   ├── 404.html
│   ├── _default
│   │   ├── baseof.html
│   │   ├── list.html
│   │   └── single.html
│   ├── index.html
│   └── partials
│       ├── footer.html
│       ├── head.html
│       └── header.html
├── static
│   ├── css
│   └── js
└── theme.toml

7 directories, 11 files
That’s a lot more content than on our default website! Let’s quickly go through them all so that you have an idea of how it works.
License
By default Hugo applies the MIT license to your theme. You can change this to be any other license you like but MIT is a good option if you want to publish your theme as open source and it’s nice that they put a meaningful default there.
Archetypes
We haven’t talked about archetypes yet but you probably noticed that your project root also contains an archetypes directory. As implied by the name the folder contains archetypes for different content types such as pages, blog posts and so on.
An archetype file contains a template for the front matter and it can also provide some default content for the page content section. When a user uses the hugo new command to create a new content file Hugo will search for the best matching archetype starting from the project archetypes folder and then from the theme archetypes if no match was found from the project.
Archetypes make it more convenient for you to create new pages as you don’t need to remember all the available parameters. Instead you can have them as commented out examples in all of your new posts.
Layouts
The layouts directory contains all the HTML files that are used for generating HTML from the Markdown files. The files aren’t pure HTML but they also contain parts of the Hugo template language which is used to insert the content of the Markdown files on the pages and to perform all sorts of logic such as adding content based on some defined variables.
The _default directory is the place where Hugo will search for the base page layout file baseof.html if it doesn’t find one defined somewhere higher in the lookup order preference. You can see the full base template lookup ordere here. This file is used to define the outer parts of your page such as doctype, the <html> block and the places where other content blocks should be inserted upon page generation.
The index.html file defines the structure of your homepage. It is empty by default but you can place any HTML that you need to appear in the content section of your homepage here.
Partials are blocks of HTML that can be inserted on the page from other template files such as the baseof.html file. Hugo has created empty partials for the page head, header and footer that are used in the base page layout file. This separation makes it easier to manage the theme’s logic or use different versions of the page parts or override some parts of a page.
Static
As we already know the static directory contains css and JavaScript that is specific to the theme. You can override the theme styling by defining the corresponding CSS file inside your project’s static/css folder.
Theme.toml
The theme.toml file contains information about the the theme such as the name of the theme, license, description, author, etc. If your theme is uploaded to the Hugo themes page this is the information that will be shown there.
Start with the foundations
Now we are ready to start developing our theme. But first we need to let Hugo know that we want to use our theme so open the config.toml file inside your project and change the theme parameter. So in my case I’ll change it to bloggeri.
theme = "bloggeri"If you already had Hugo running you may need to stop it and start again for the change to take effect. The command to start the Hugo server is (remember to keep it running in the background):
>> hugo server -D --disableFastRenderIf you now go to http://localhost:1313/ on your browser you’ll notice that the page is empty. Even if you check the page source there is almost nothing there. What you may see there is just an empty set of <pre> tags.
To make the index page work with the default baseof.html file add the following lines to the themes/bloggeri/layouts/index.html file:
{{ define "main" }}
{{ end }}
Don’t worry about what it means just yet, we’ll get to that later. Now if you refresh the index page source you should see some proper HTML there. But the page itself is still blank.
For brevity I’m going to refer to the files inside the theme without the themes/bloggeri/.., I hope this doesn’t confuse you too much. If you open the layouts/_default/baseof.html file in your editor you can see that it already has some content inside. There is some HTML but you’ll notice that there are also parts of the templating language that will fill in content from other files.
It is a best practice to define the content language in your HTML so we’ll start by doing just that. Change the line containing the <html> tag to this:
<html lang="{{ .Site.LanguageCode }}">Here we took our first step into Hugo’s template language by using a site variable (that index.html thing didn’t really count 😉). Because Hugo is written in Go it actually uses the Go template language under the hoods. Here the dot . refers to the current object which is the root object in this case. We accessed the site variables map and inserted the value LanguageCode as the attribute value. If you check the rendered HTML again you’ll notice that the language is now defined with the default value “en-us”. You can change the language by editing the languageCode value in your site’s config.toml file.
Let’s also change the <div> tags to <main> for the main content so that we are using the proper semantic elements. Your baseof.html file should now look like this:
<!DOCTYPE html>
<html lang="{{ .Site.LanguageCode }}">
    {{- partial "head.html" . -}}
    <body>
        {{- partial "header.html" . -}}
        <main>
        {{- block "main" . }}{{- end }}
        </main>
        {{- partial "footer.html" . -}}
    </body>
</html>
Now let’s get back to the index.html file. Why did we have to add that 'define "main"' thing there? If you look closely at the baseof.html file you’ll notice that one of the templates is using block instead of partial. When Hugo is building the index page it will search the index.html file for a block definition for the main content and insert everything inside that block to the correct position, in this case between the <main> tags. Likewise, the definitions for all other pages must contain this main block so that the page contents can be placed properly.
So the next logical step is to try to add some content to the index page. Edit the layouts/index.html in your theme to make it look like this:
{{ define "main" }}
{{ .Content }}
{{ end }}
This tells Hugo to insert the page content from a Markdown file at this position inside the main block, and subsequently between the <main> tags in the baseof.html file. Navigate to the project root directory and create a content file for the site’s homepage (notice the leading underscore):
>> hugo new _index.mdOpen the created file content/_index.md in a text editor and remove the line that says that it is a draft. Then add some Markdown of your choice below the front matter and save the file. You can also use this one if you like:
# Heading
This is sample content
Now you should see the content appear on the browser like this:
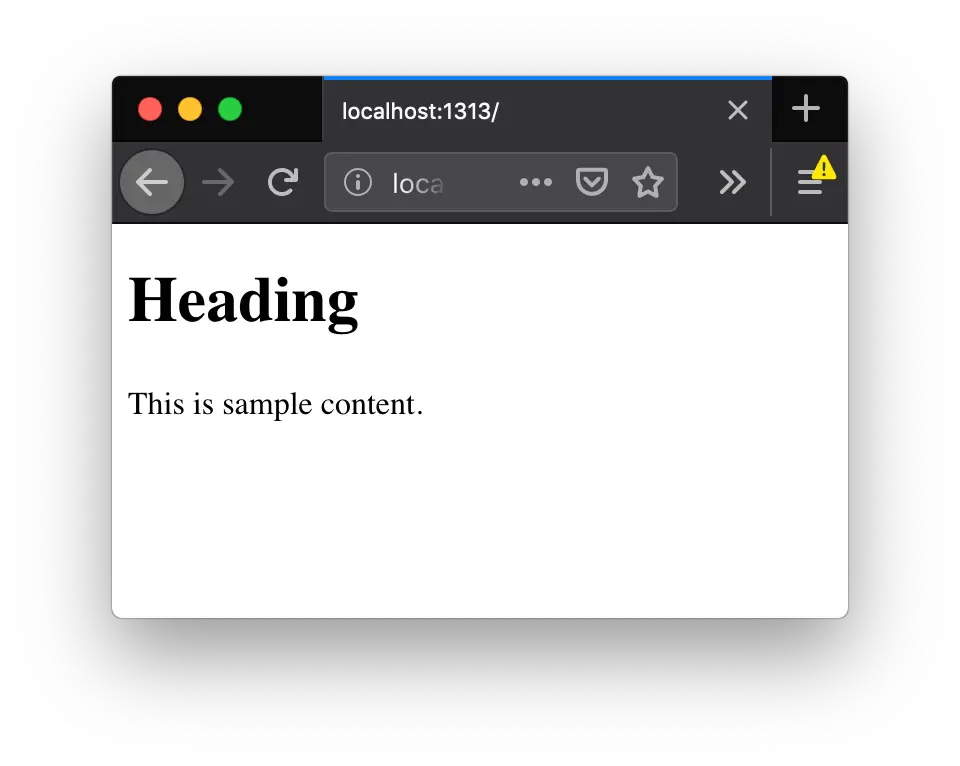
You may wonder why we had to add that underscore to the filename. The version with an underscore is used when the page contains child pages such as the homepage or a folder that contains blog posts. You can use the version without an underscore for “leaf” pages which contain no child pages such as blog posts like this:
content/blog/post-title/index.mdDefine the page head
Before we start doing more visual things we should make sure that we have everything we need inside the <head> tags on every page. The head section contains important metadata for the browser and also other services such as Google. I recommend that you take a look at this Front End Checklist to get an idea of what things are important for front end development. We will try to follow these best practices here.
Open the layouts/partials/head.html file of your theme in an editor and add the <head> tags where we can start adding more content.
<head>
</head>
All of the following HTML code should be inserted between these head tags.
Important meta information and page title
Start by defining the character set as UTF-8:
<meta charset="utf-8">To support responsive pages on mobiles define the viewport meta:
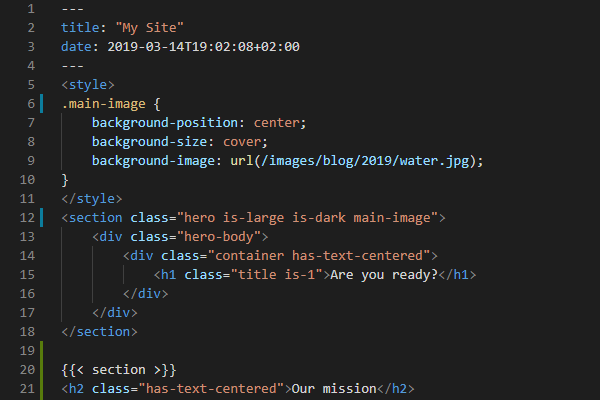
<meta name="viewport" content="width=device-width, initial-scale=1, viewport-fit=cover">Define the page title. Every page should have an unique title. The following code inserts the title of the current page if it exists (from the front matter in Markdown) and appends the site title at the end. It also checks if the current page is the home page in which case only the site title is used.
<title>{{ if not .IsHome }}{{ with .Title }}{{ . }} | {{ end }}{{ end }}{{ .Site.Title }}</title>Here we used the with keyword for the first time. It checks for the existence of the desired variable and sets it as the current context inside the block. Next we have another set of curly braces that only contain a dot. This means “insert the content of the current context here”. Therefore the value of the Title parameter is inserted if it has been defined in the front matter. After that we have space, a vertical bar and space and an end to the block. Then we glue the site wide title at the end, outside of the if block. This way all of our page titles will be of type “Post title | SiteName”, or just “SiteName”.
The meta description is text that is shown under the links in a search engine results page. It should generally be less than 150 characters long. The code below will use the description parameter if it is defined in the page front matter. If the page description hasn’t been set then the page summary will be used. Because we haven’t set the default description in the configuration file yet it will be empty at first.
<meta name="description" content="{{ with .Description }}{{ . }}{{ else }}{{ with .Summary }}{{ . }}{{ else }}{{ .Site.Params.description }}{{end }}{{ end }} ">Open the config.toml file and add a site wide description to be used if the description for a single page is missing:
[params]
    description = "My site description"
To add a description to a blog post open the markdown file and add the description parameter to the front matter so that it looks something like this:
---
title: "My First Post"
date: 2019-03-13T17:28:09+02:00
description: "This is a short description of the page"
---
The generated HTML of the front page should now contain the site description:
<meta property="description" content="My site description" />Canonical url
Add the canonical url of the page. Google advises you to define the canonical version of your page url which will be the one that is displayed to the users and to prevent duplicate pages from showing up. We’ll just use the permalink of each page.
<link rel="canonical" href="{{ .Permalink }}" />You might also be tempted to add <link rel="next" href="next/post/url"/> and <link rel="prev" href="previous/post/url"/> but this is wrong as rel=“next” and rel=“prev” are only meant for pages that belong to the same “unit” such as a multi-page blog post. They are not meant for linking different blog posts in a series. I actually did this at first and I don’t want you to repeat my mistakes.
Social sharing
Hugo has internal templates for creating metadata for Open Graph and Twitter cards so we don’t have to reinvent the wheel. They can be easily added with the template shortcodes.
{{ template "_internal/opengraph.html" . }}
{{ template "_internal/twitter_cards.html" . }}
Now when someone links our page to social media the title, image and description will be shown properly if you have them set up correctly in the page’s front matter. You can find more information from the Hugo docs.
To have the title, date, description and an image in the Open Graph and Twitter metadata the page front matter should contain the following:
---
title: "My First Post"
date: 2018-11-13T17:28:09+02:00
description: "This is a short description of the page"
images:
- /url/of/image.jpg
---
The Open Graph also supports audio, video, tags and series information if available. Check the rendered HTML to verify that the metadata are added properly.
Google Analytics
Adding Google Analytics is also easy to do since we can again use an internal template. The template should be inserted last just before the </head> end tag.
{{ if not (in (string .Site.BaseURL) "localhost") }}
    {{ template "_internal/google_analytics_async.html" . }}
{{ end }}
To avoid polluting the GA data during development I added an if statement that makes sure that the analytics code is not loaded when running on localhost.
To enable Google Analytics open the config.toml file of your site and add your GA tracking code:
googleAnalytics = "UA-123-45"The final result
If you followed through the post your layouts/partials/head.tml file should now look like this:
<head>
    <meta charset="utf-8">
    <meta name="viewport" content="width=device-width, initial-scale=1, viewport-fit=cover">
    <title>{{ if not .IsHome }}{{ with .Title }}{{ . }} | {{ end }}{{ end }}{{ .Site.Title }}</title>
    <meta name="description" content="{{ with .Description }}{{ . }}{{ else }}{{ with .Summary }}{{ . }}{{ else }}{{ .Site.Params.description }}{{end }}{{ end }}">
    <link rel="canonical" href="{{ .Permalink }}" />
    {{ template "_internal/opengraph.html" . }}
    {{ template "_internal/twitter_cards.html" . }}
    {{ if not (in (string .Site.BaseURL) "localhost") }}
    {{ template "_internal/google_analytics_async.html" . }}
    {{ end }}
</head>
Now if you view the HTML source code of your index page in your browser it should look something like this (I did some formatting by hand):
<!DOCTYPE html>
<html lang="en-us">
<head>
<meta name="generator" content="Hugo 0.54.0" />
<meta charset="utf-8">
<meta name="viewport" content="width=device-width, initial-scale=1, viewport-fit=cover">
<title>My New Site</title>
<meta name="description" content="My site description">
<link rel="canonical" href="http://localhost:54235/" />
<meta property="og:title" content="My New Site" />
<meta property="og:description" content="My site description" />
<meta property="og:type" content="website" />
<meta property="og:url" content="http://localhost:54235/" />
<meta property="og:updated_time" content="2019-03-13T08:42:38+02:00"/>
<meta name="twitter:card" content="summary"/>
<meta name="twitter:title" content="My New Site"/>
<meta name="twitter:description" content="My site description"/>
</head>
<body>
<main id="content">
<h1 id="heading">Heading</h1>
<p>This is sample content</p>
</main>
<script data-no-instant>document.write('<script src="/livereload.js?port=54235&mindelay=10"></' + 'script>')</script>
</body>
</html>Conclusion
I think this is a good state to leave our project for now. Now we have a basic template upon which we can start building our theme. In the next post we will start to focus on the overall page layout.
Read next in the Blog with Hugo series.
Create a Layout for Your Hugo Theme
Previous post
Vim for Git UsersNext post
Create a Layout for Your Hugo Theme